So I got my hands on the new R&D Hydro Force Steering Nozzle for the SXR 1500 that is cast aluminium and lengthened design delivers a 1 mph speed gain and improves the turning radius. Allowing you to carve tighter turns with an increased positive feel – well that’s what they say. Let’s see how hard it is to install and how it performs.
My first concern was the disclaimer “Slight modification of the stock exit nozzle is necessary to install the R&D steering nozzle. Steering nozzle comes with instructions including blueprint of the modification needed for stock exit nozzle.” What does slight mean?
The first step is to remove the pump cone from the ski using a 12mm socket. Carefully loosen the 4 bolts that hold the housing and with your trusty 10mm socket remove the steering arm swivel. The water intake hose is on the top and comes off easily enough.
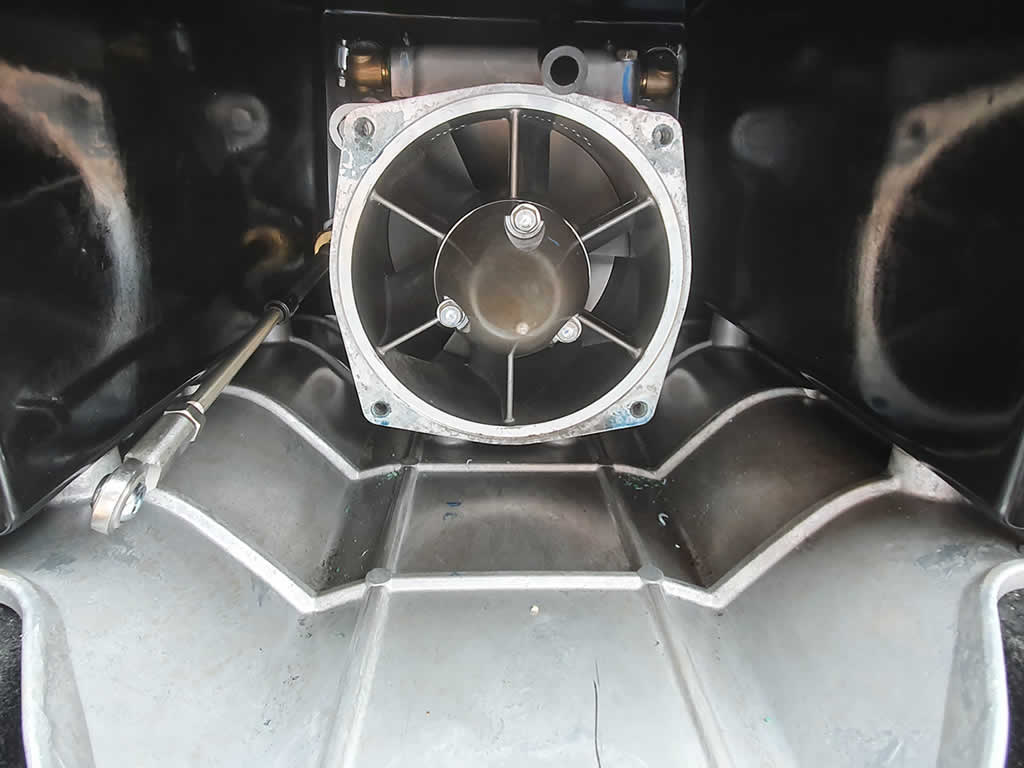
Now the pump nozzle has to be removed. Take the time to check out your prop, rideplate and check the torque on the pump cone bolts. If your keen, remove the cone and make sure it's still watertight. I choose to squirt some WD-40 in there – why not?
You can now take the pump nozzle to the bench. This is where it gets a bit harder.
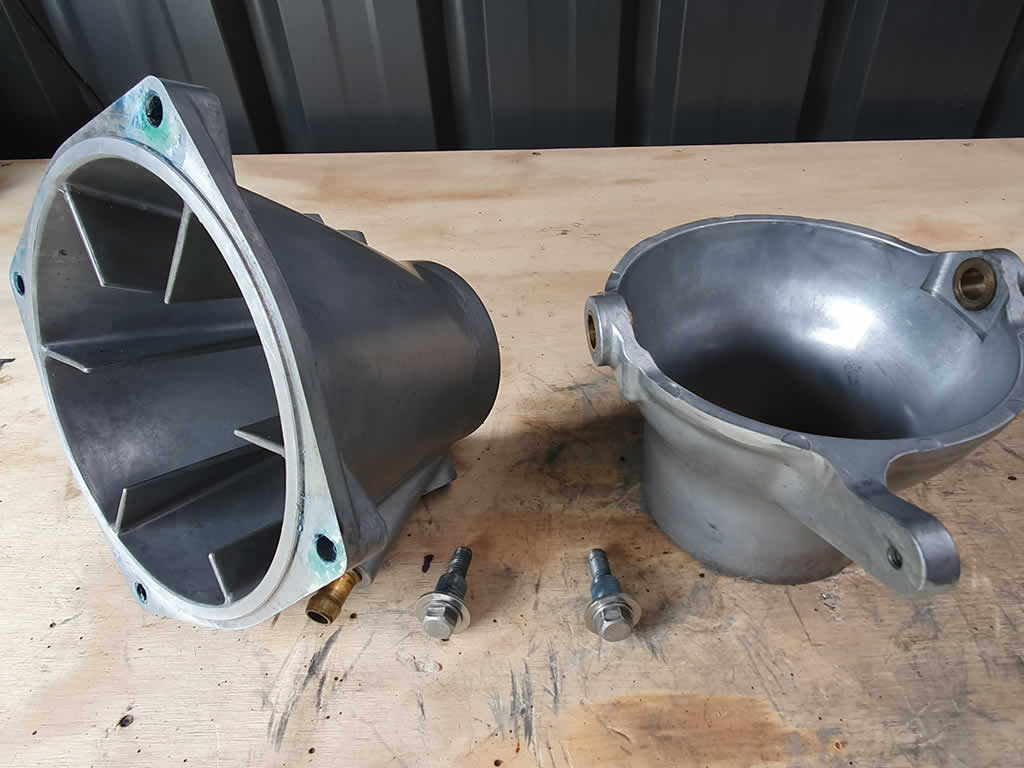
Firstly, using your 12mm socket remove the two pivot bolts from the pump and your old nozzle should come off. Take note of the brass bushing. We will touch on these later. Also don’t loose the spacers as we need to re-use them.
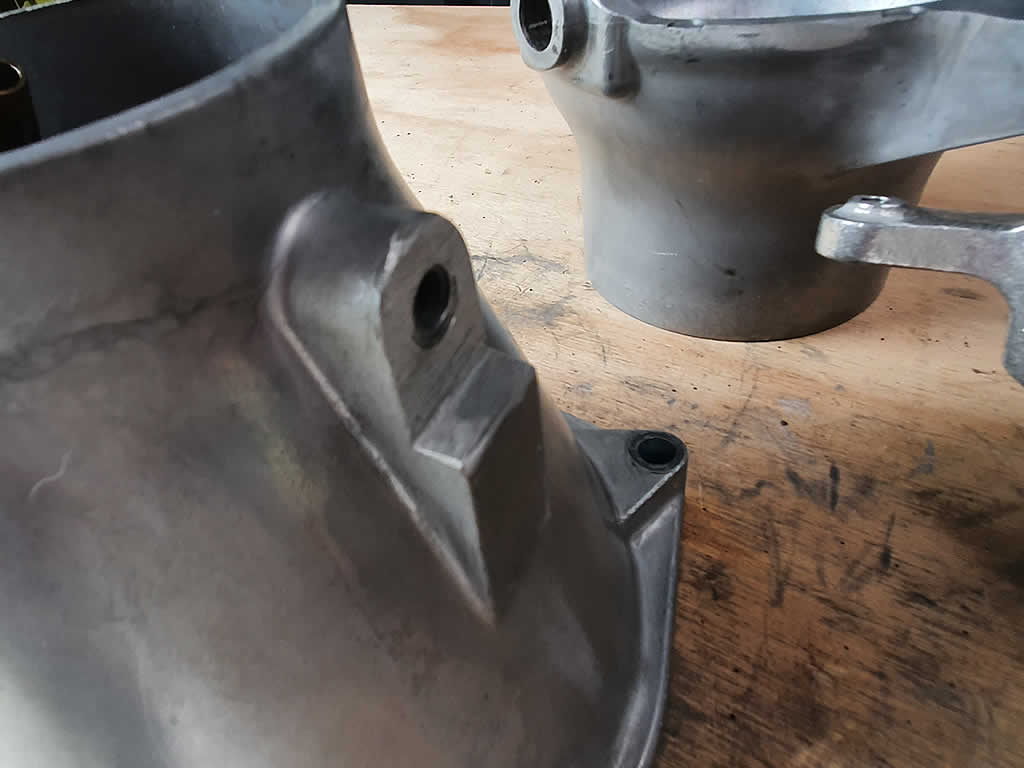
The documents ask to “Machine .250” off each mounting pad. Target overall dimensions of 4.800” (121.92 mm). I marked it up and used a super thin cut off blade in my trusty grinder and a bit of filing. It worked out fine but remember to mark twice and cut once! Leave plenty of meat so you can hand file the last bit. If your lucky to have the right machine let me know in the comments what your approach was!
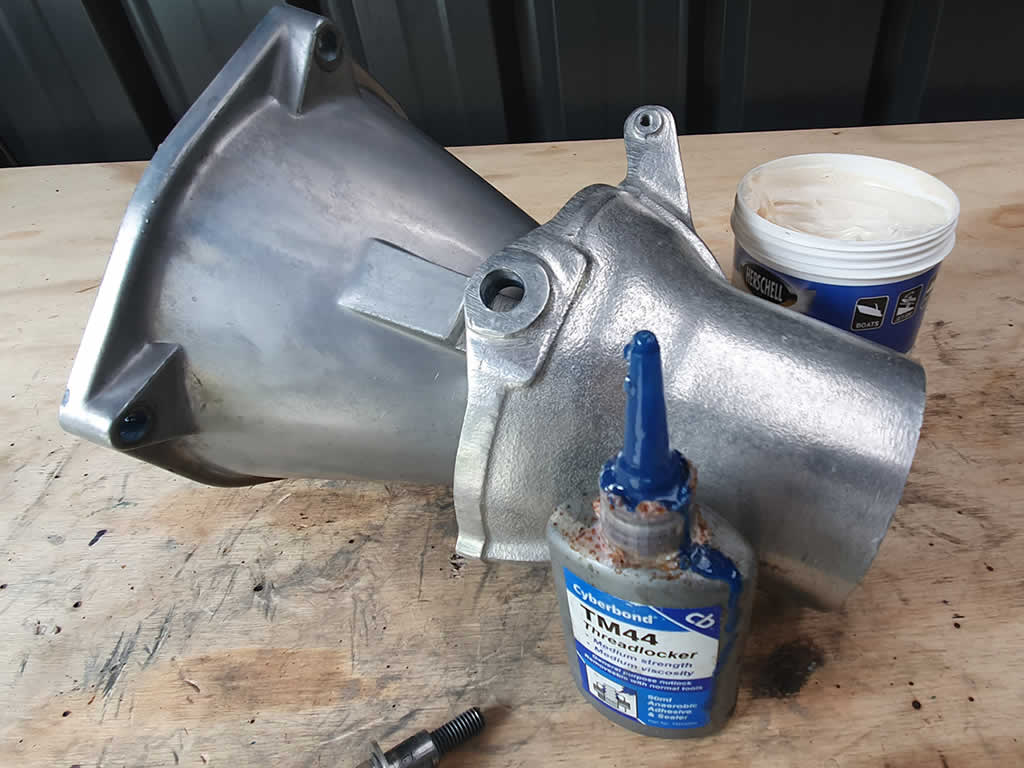
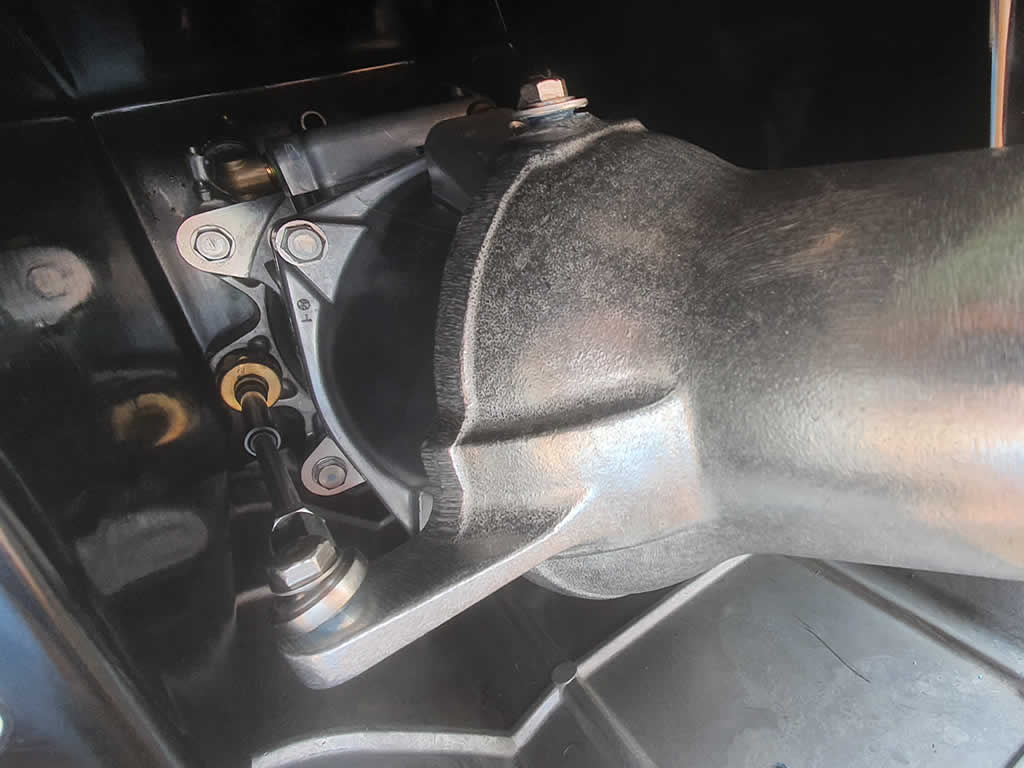
Using blue threadlocker and a blob of waterproof grease install the new nozzle. You may need to remove it a few times if you have not removed enough from the pad.
Now here is where I felt the nozzle could have been better. I would have loved to see those brass bushes from the OEM nozzle being used here as when I nipped up the bolts the new nozzle bound. It was like the nozzle mounting holes are not square. I had to make the holes in the nozzle a little larger which cause a bit of “slop” in the nozzle, but nothing too bad. It was sooth as after that.
I feel that if the nozzle was 100% square and used those bushes it would make the product just that little better.
.jpg.aspx)
Now put her back together the opposite way you pulled her apart. Don’t forget to use the threadlocker and snugly put back the cooling hose. Nip up the pump mounting bolts to 36 Nm (3.7 kgfm, 27 ftlb) and the steering cable joint bolt to 9.8 Nm (1.0 kgfm, 87 inlb) using some waterproof grease.
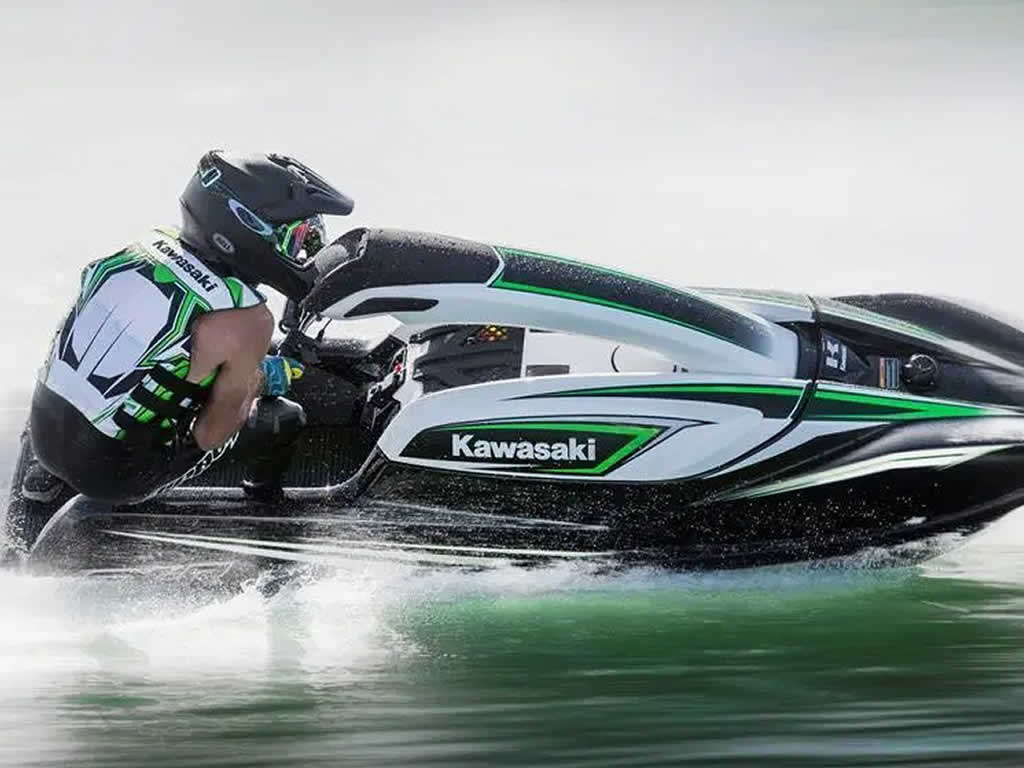
As you can see from the image above I now ride like a pro! (couldn’t find an image of me riding!), but seriously I could feel the difference. The ski seemed a little faster at launch and certainly corners well. I had also installed a set of JCRACING sponsons, WOT Scoop Grate all at separate times and it seems these 3 enhancements really made cornering and riding insane together.
Help Needed: This article lacks GPS and actual numbers. Have you installed this nozzle and have some hard numbers you will share with the community? If so please email [email protected] and I will add them to this article! Thanks in advance.
Overall, the installation process wasn’t too bad and took about 2 hours with half of that messing with the binding nozzle at the end. The speed gain maybe a thing, but I can rarely hold on at WOT on the SXR 1500 so will never know!
Let me know how your experience went and what gains you felt it made. Simply comment below or on the Jetski Army facebook page.