So recently my ’82 550 with the SX motor and pump seemed to be slowing down – very gradually. I kind of noticed it more and more until one day without a few months of use it stopped. It had the dreaded click. You know the one when all you hear is the starter engaging.
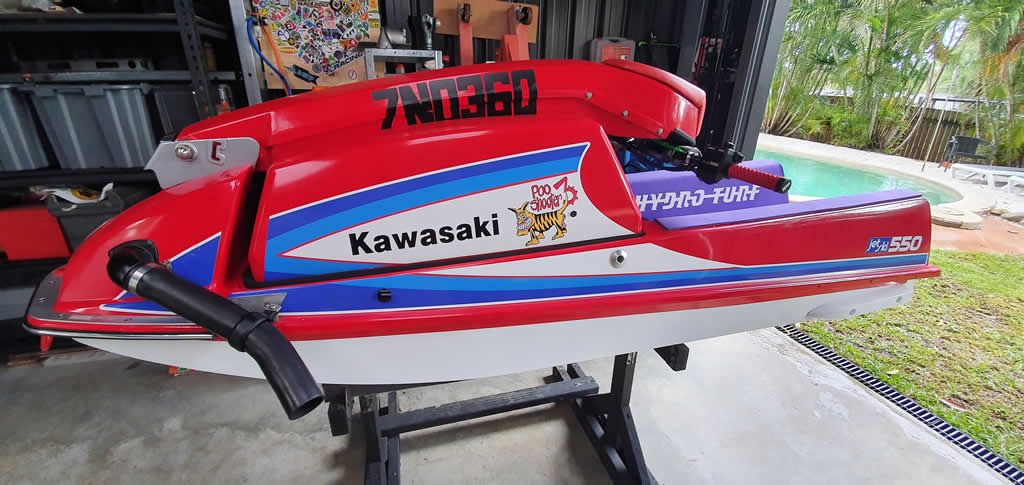
Click, click, recharged battery and the same thing. So, before investigating the engine I started at the easy end – the pump. I wanted to see if there were any rocks in there or maybe the bearings had seized. The Poo Shooter was dead.
Couldn’t see anything obvious so ripped off the ride plate and dropped out the pump and to my delight the engine turned over. It was clear I had a pump issue.
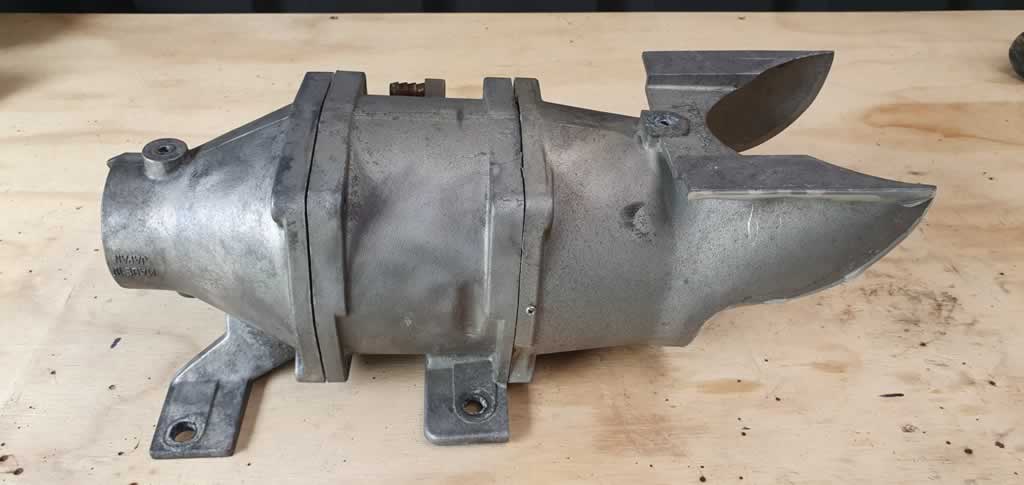
Removing the pump is relatively easy, depending on how much silicone the last person put on the inlet. Removed the intake grate and ride plate. Then removed the pump by loosening the 4 bolts (that when I re-installed later replaced with allen type hex heads. They seem to fit ride plates easier and were a better fit.) and the water pipes. I cut around the silicon at the intake with a blade or could have run a fishing trace wire to separate the two – either way don’t damage the hull.
Take note if any shims were under the pump bolts. Remember where they went for when you reinstall the pump.
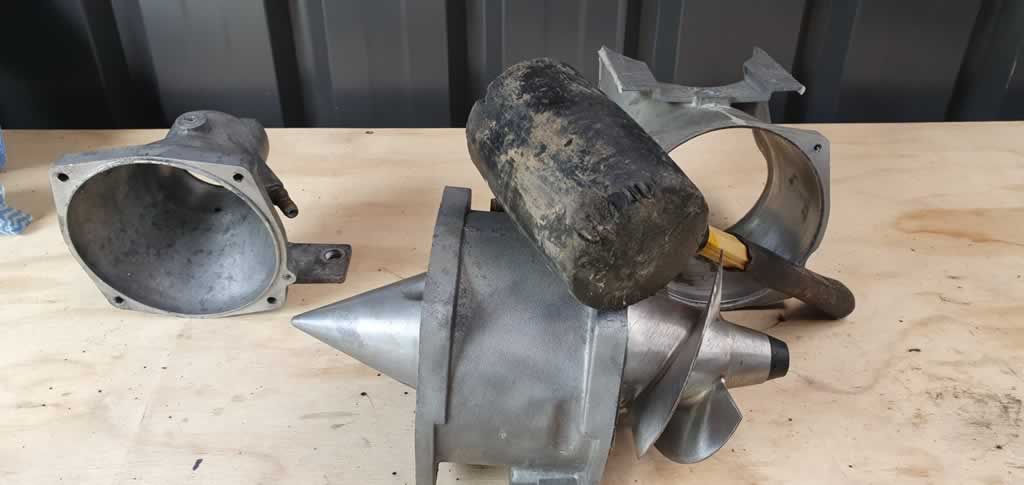
Breaking it open, undo the 4 pump bolts. The jet pump sections should have been sealed with silicon so you may need to give it a careful tap after with a rubber mallet. Remove the cone shaped cap and set aside. I now have separated the pump outlet, guide vane and pump case.
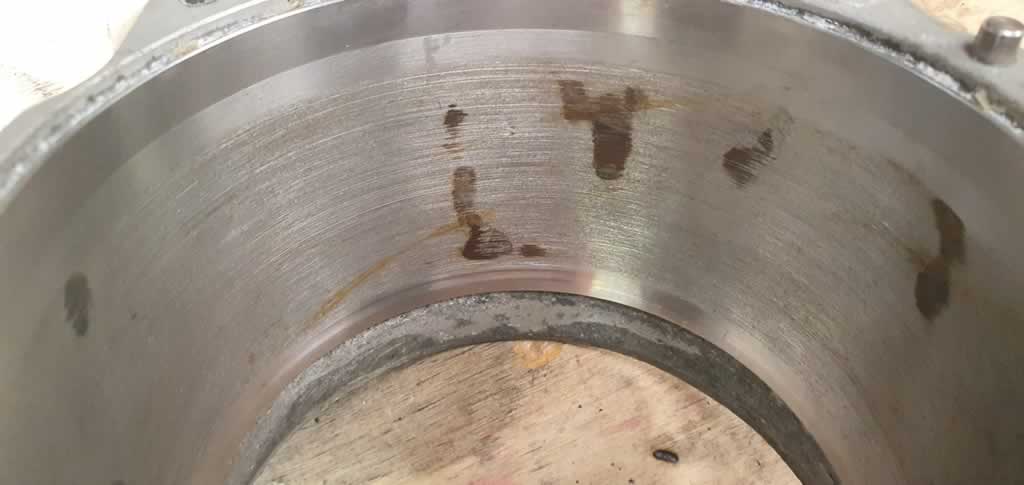 It became apparent that my issue was my pump case lining had started to corrode between the wear ring and pump case pushing the wear ring into my impeller. This was happening over time slowing me down until it seized.
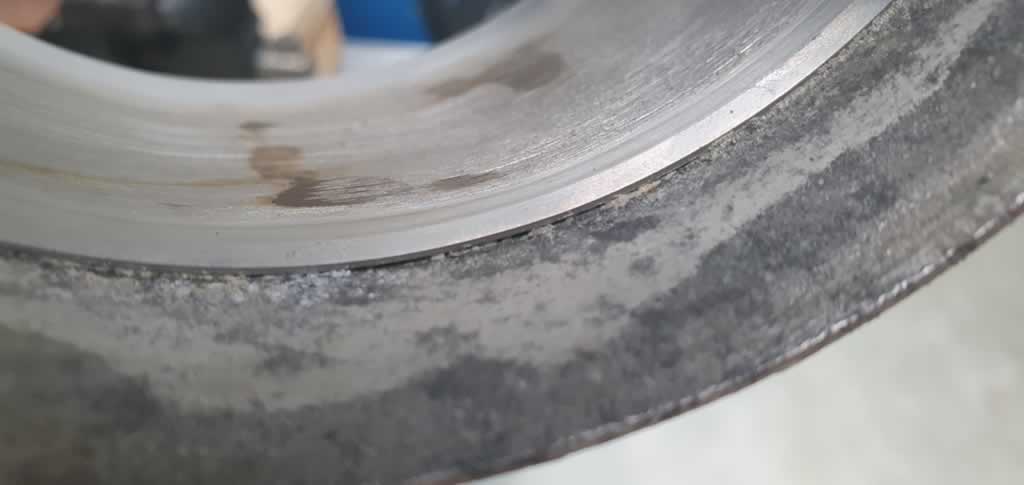
You can see above that the rust bulge was fouling the wear ring for quite some time. The pump outlet is aluminium and the pump liner stainless steel and after 30 odd years corrosion sets in starting the separation that EVERYONE will experience one day.
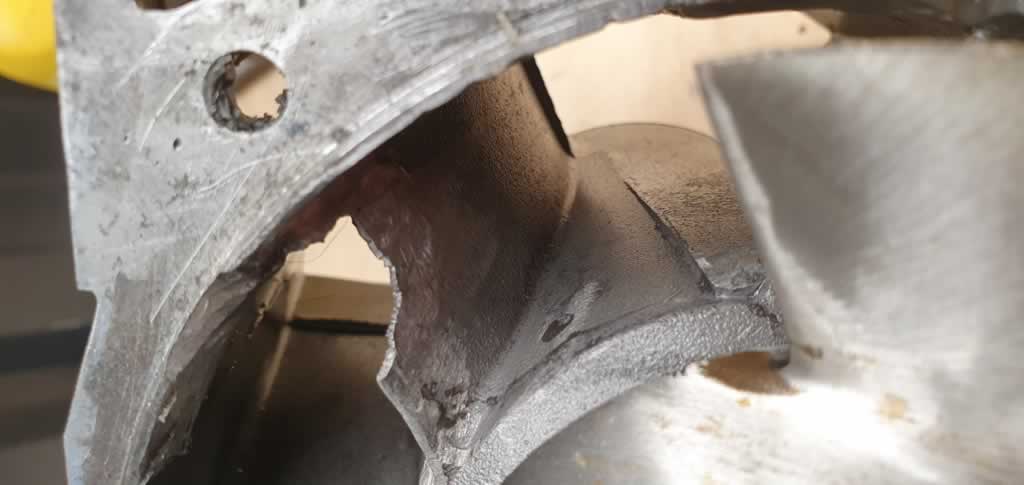
Not only was the impeller seized, but the guide vanes were smashed. Googling it amazes me the forces and temperatures on these things. Cavitation is powerful.
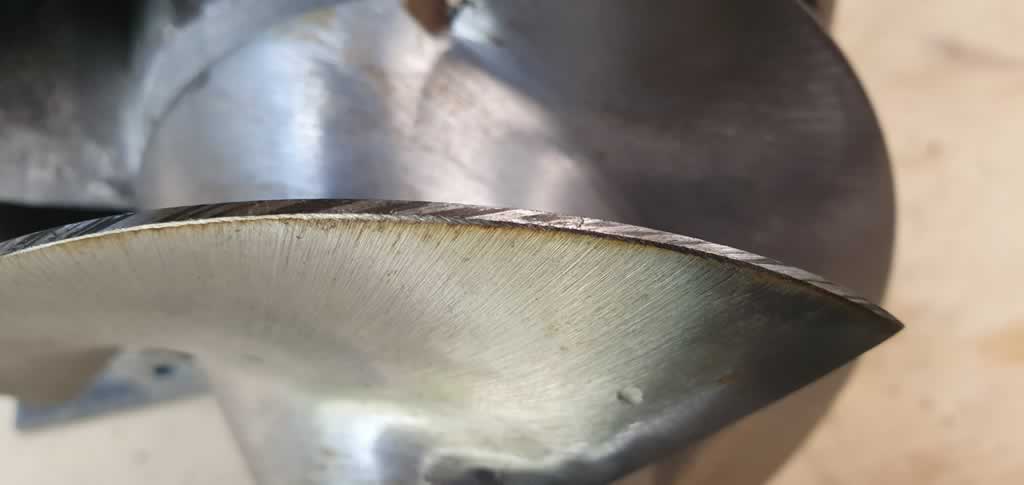
The Skat 15.5 was in this pump and lucky it had little wear. Its been getting hot and required the burs to be removed with a file. Check for nicks or damage to the impeller otherwise tidy and put aside.
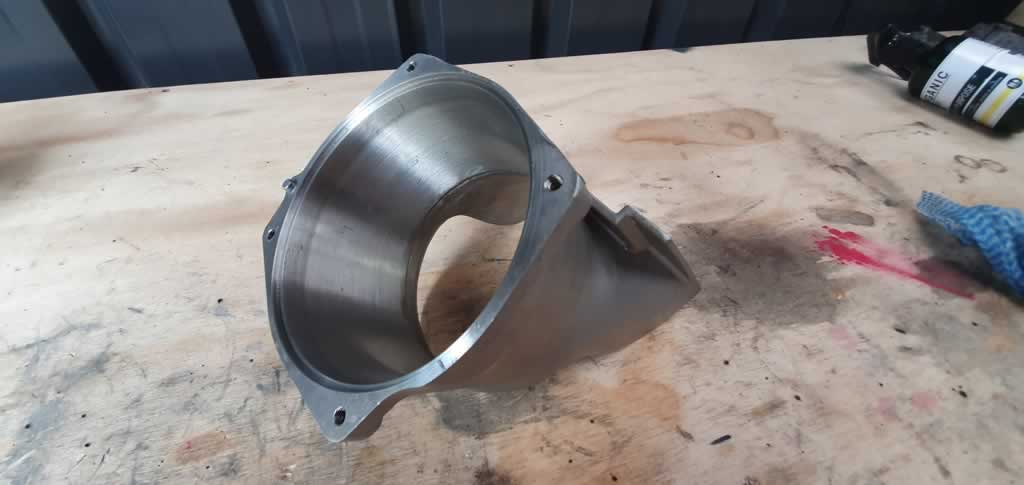 So off to Wax Racing Products website and purchased a new pump liner. I wasn’t keen to cut and separate the pump liner then freezing and squeezing in the wear ring like the old days, so I opted for a new one. This will be the last pump case I will ever need to buy.
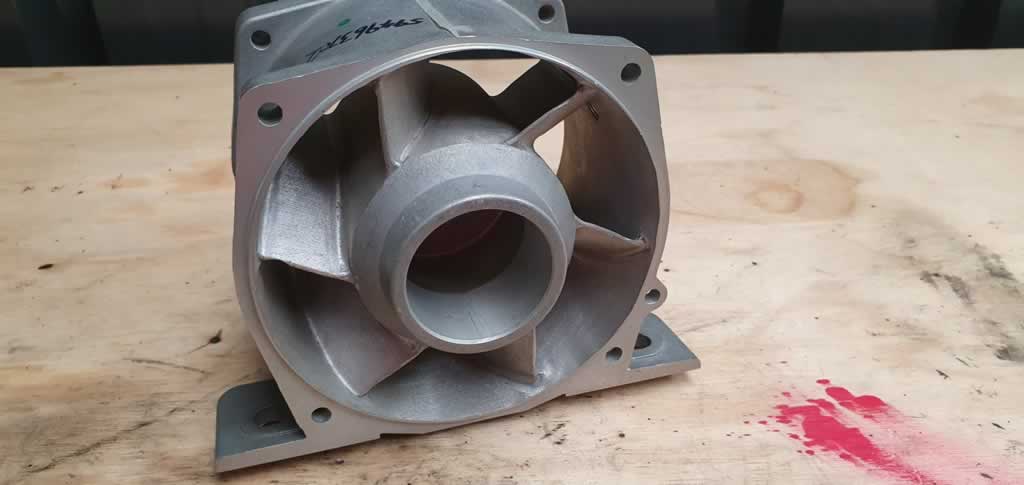
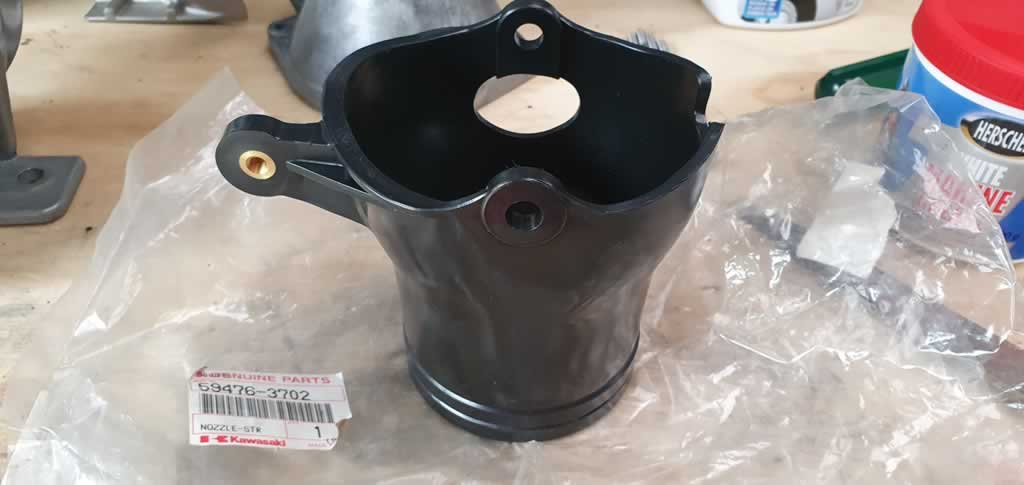
Over the past few years, I had been collecting spares knowing I would rebuild this pump one day. I found both a brand-new guide vane and steering nozzle.
Also, you should replace the bearings. Kind of makes sense to do them now, I think. Your call but inspect them at least.
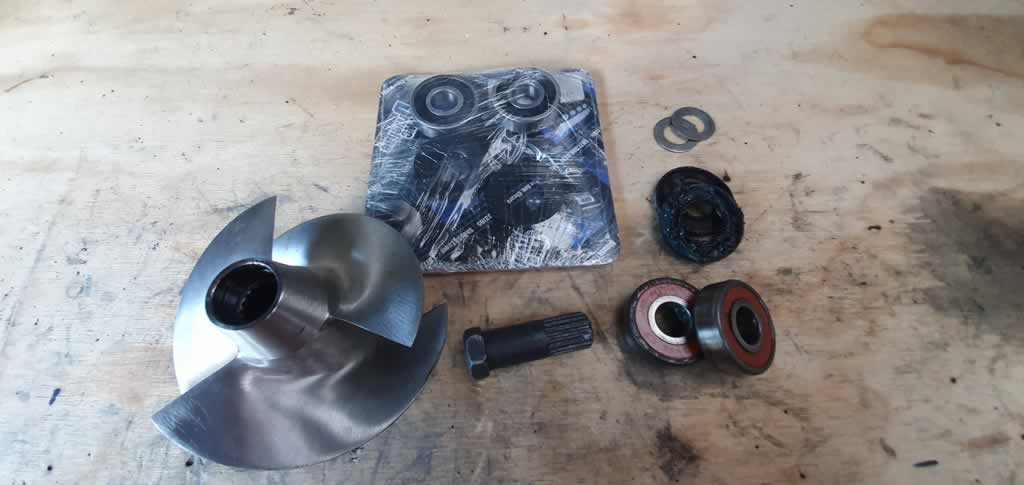
I had no choice on brand as I had some in the workshop, but I would research the different brands as everyone seems to have an opinion.
Let me know your thoughts on the Jetski.Army facebook page.
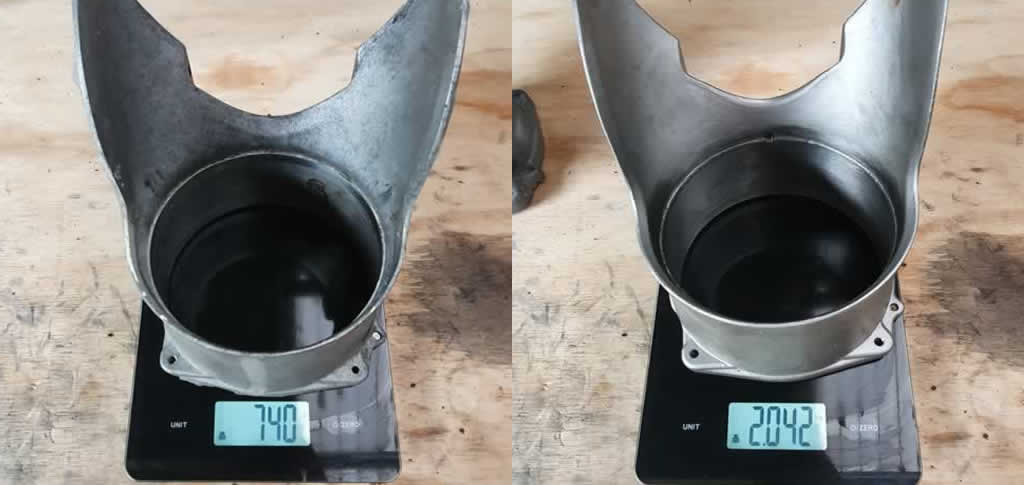 The first thing I noticed about the Wax Racing all stainless pump liner was the quality.
 This thing had some quality weight about it! Its more than twice as heavy as the OEM and looks a treat. I was initially worried about the weight and then thought its nothing in the overall scheme of things, but damn the quality!
It was impressive.
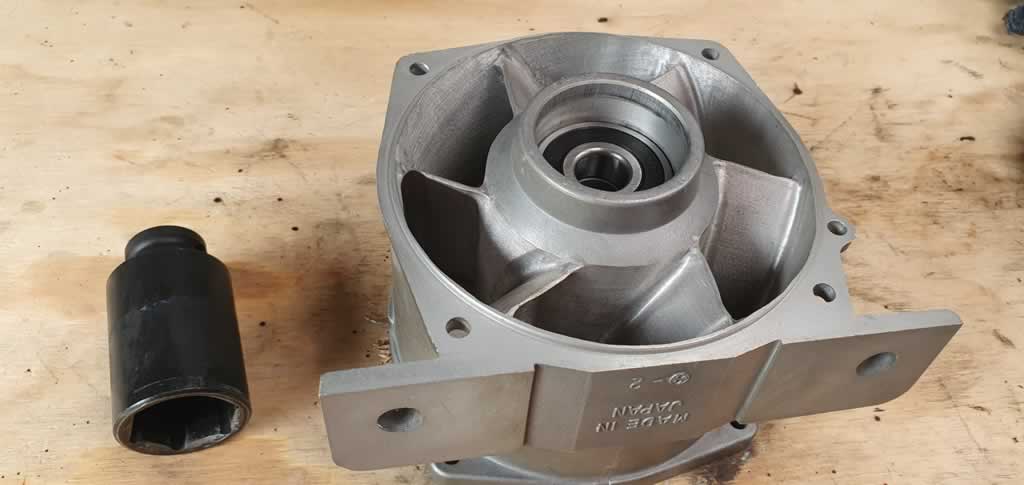
Note: I did not need to remove the old bearings as I had a new guide vane, however you would need to tap around the inner bearing (via the outer race - never tap the inner ring - thats no good) with brass or steel drift. When the bearing falls out, the spacer will fall out with it. Do the same to remove the grease seals and outer bearing. Clean it up.
The next step was to press in the inside bearing into its housing until its against the stopper groove. I use a socket to do this ensuring your socket touches the bearing race and nothing else or you will damage your bearings. I used a bit of waterproof grease to assist. Once its started going in its easy to tap it into place. You can freeze the bearings if it’s a little tight.
Pop in the space and press in the outer bearing with your socket. Now carefully and slowly (doesn’t take much pressure) drive the bearing down until it just touches the spacer. Don’t overdo it or you will damage your bearing. I aligned it all by inserting the shaft.
I installed the grease seals by coating the lower seal with grease and carefully drive it into the pump housing with a bearing driver or socket with the same outer diameter as the seal. Install the lower seal so that the open side (with the spring on it) faces to the front of the pump housing. Drive the seal into the housing until it touches the bearing. Coat the upper seal with grease and install it right over the last. In my opinion they look backwards, but nope check the manual. The spring faces the impeller.
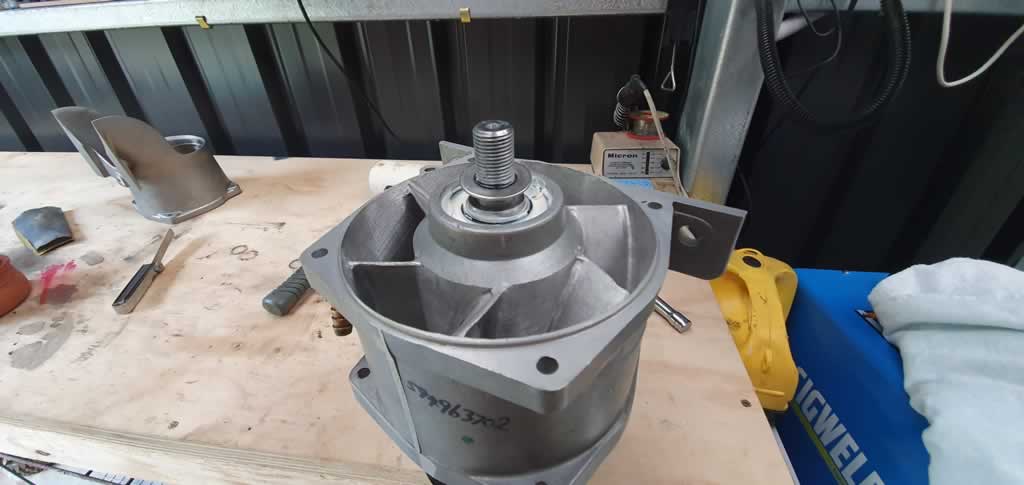
Its important that you have these pumps tuned. If there is a gap between the impeller and the wear ring you loose performance. You change this adjustment by adding or removing shims behind the impeller.
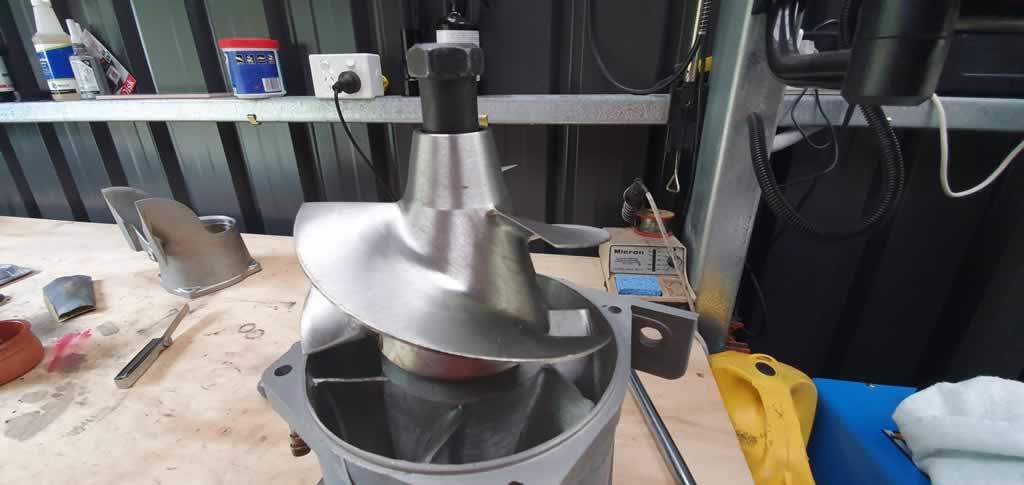
Using the special removal tool, I added and removed shims (or stainless washers) from the shaft. I did this probably 5 times until it was perfect. You need to tighten the impeller to 20 N.M (14 ft.lb) and temporarily put the pump back together. Don’t just tap the Wax Racing all stainless pump liner on and measure. Nip it all up tight then measure.
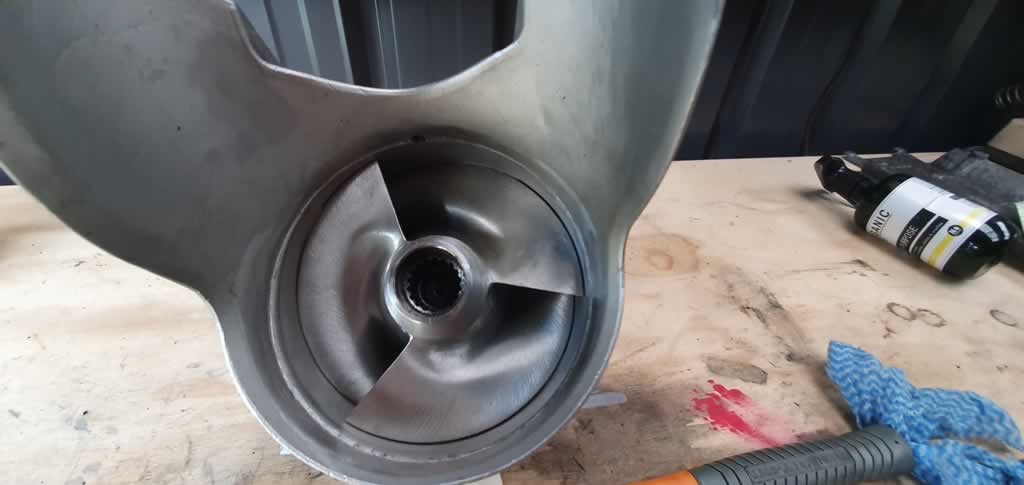
The recommended gap on average around the impeller is 0.2-0.3mm (0.008-0.012 in.). Mine was a little bigger in some areas but overall, the average was good. There was certainly no rubbing and the Wax Racing full stainless pump liner was very true and round.
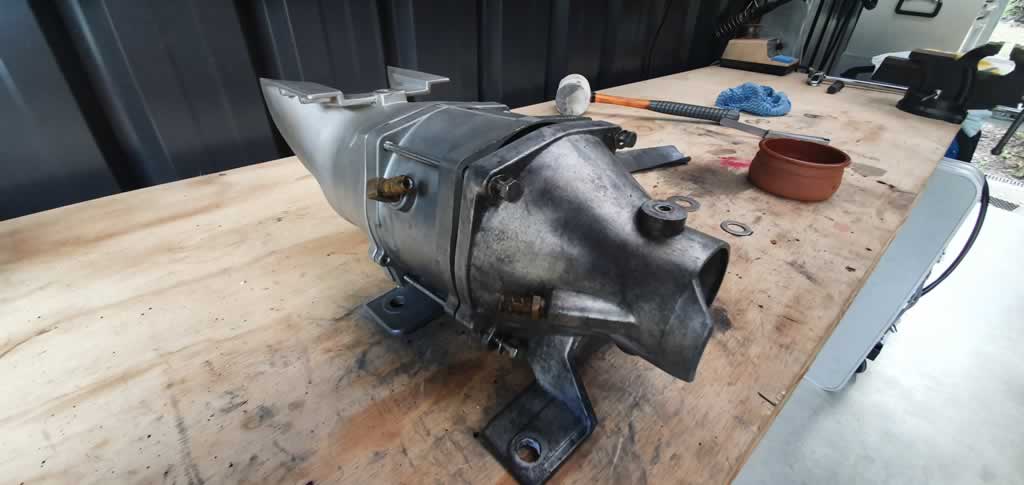
Put the pump back together using a smear of silicon around the casing seals and blue thread lock on all bolts. Tighten the 4 long pump case bolts to 5.5 N.M (48 in.lb). Change the O-ring that came with the rebuild kit of the cone cap and fill with grease. Attach your steering nozzle and tiny rubber cover on the impeller end.
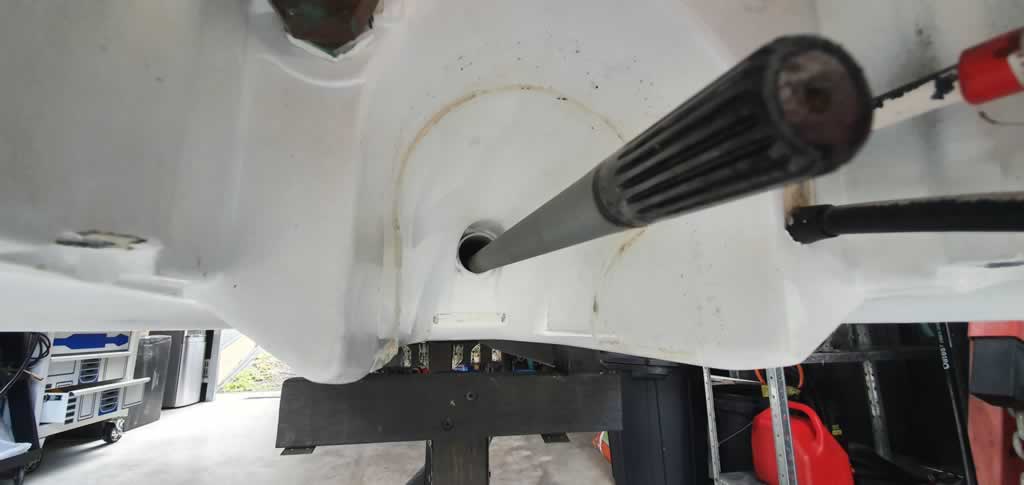
Clean up the silicon sealant from the pump area intake on both the pump and boat. Apply a bead of silicon all the way around the pump intake on the jet pump. Do not get the silicon inside the pump intake or it will cause water cavitation and reduced thrust.
Install the jet pump assembly by engaging the drive shaft splines with the impeller and pushing in. Add the alignment shims you originally took off and using thread lock put back the 4 bolts. Tighten to 22 N.M (16 ft.lb). Re attach the hoses in the right places and re attach your grate and ride plate. Tighten to 10 N.M (7 ft.lb). Finally grease and attach your steering cable to your nozzle.
In summary this job is not as hard as you may thing, especially if you have the right tools. Without the Impeller wrench it would have been near impossible. Without the pump liner from Wax Racing, well I just do not want to go there.
Now for the exciting thing. Man, she goes again! I had forgotten how much fun these skis are when they are working at near new. If you have any issues with your pump or think your missing out on jet performance, then pull it down and I bet your wear ring is damaged or your impeller gap is outside of the guidelines.
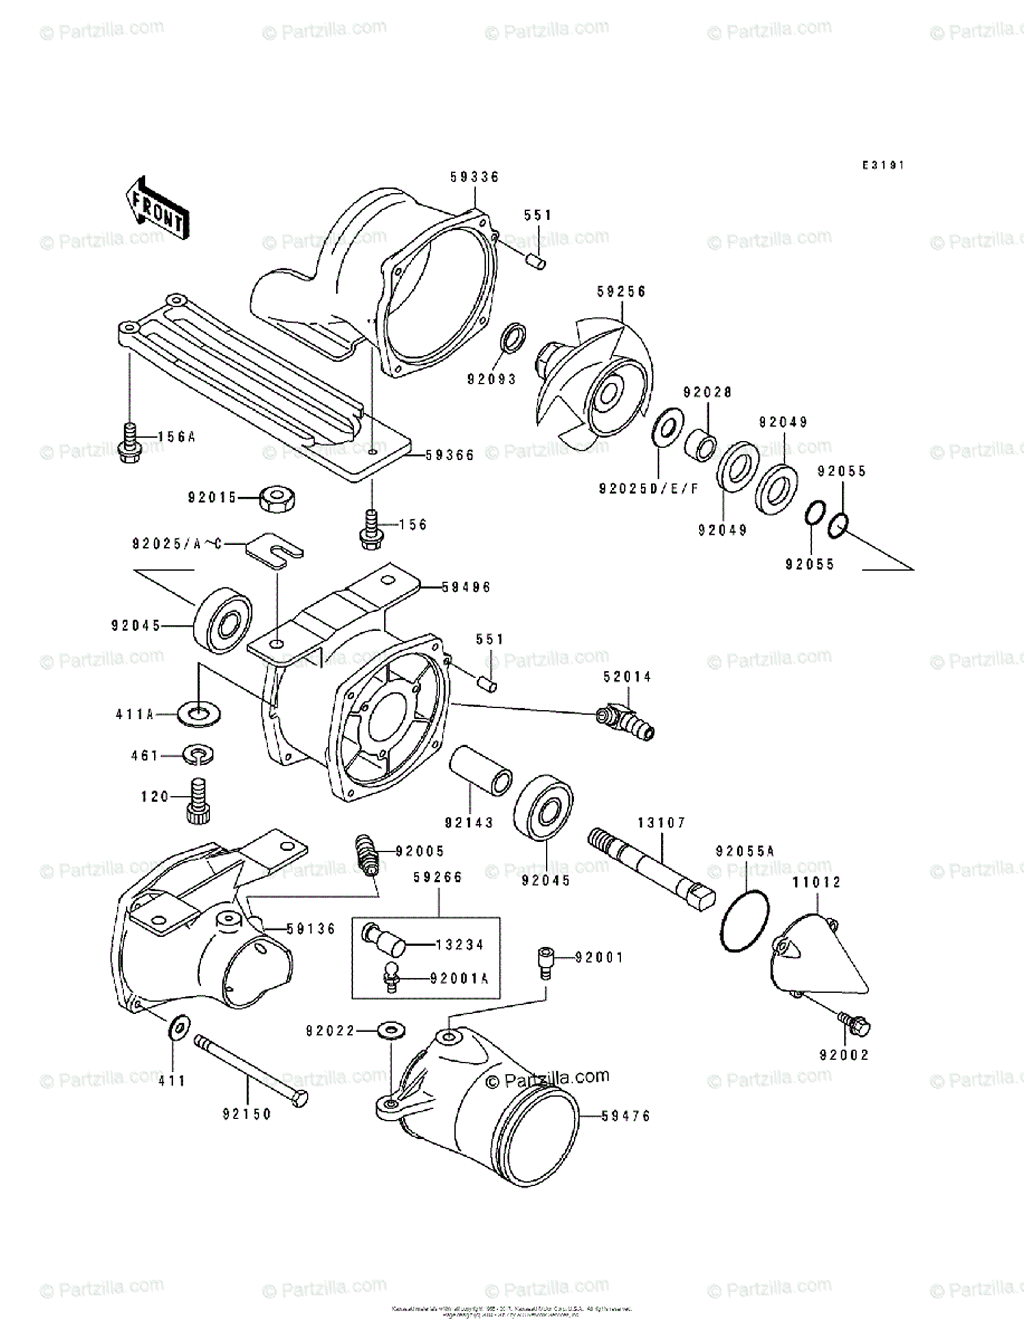
Below is a the Partzilla breakdown for you.
