One of the nicest upgrades to your SXR 1500 is a mat kit. It not only looks great but provides a nicer tray experience. Installing kickers to lock your feet in as well as back and front humps allows you to easily align your feet keeping you in the tray longer – well that’s the idea!
Jettrim are one of the leaders in this area so here is my experience installing them on a SXR 1500.
Like any job it’s a good idea to have the right tools. It’s nerve racking enough doing these types of jobs the right tools only mitigates issues also make you feel a little better when you rip off your perfectly good OEM mat kit.
- Good sharp stanley blade(s)
- Rubber Mallet (white)
- Green abrasive scotch pad
- Pop rivet gun and stainless pop rivets
- Crayon or marking pencil
- Contact Adhesive
- Spray Gun or painting foam brush
- Superglue
- Drill and 3/16 bit
Well I must say lying in bed days prior to this installation I was extremely concerned how hard it would be to remove the mats. On my 550 it was a nightmare, but this was the easy part. Well for one side anyway.
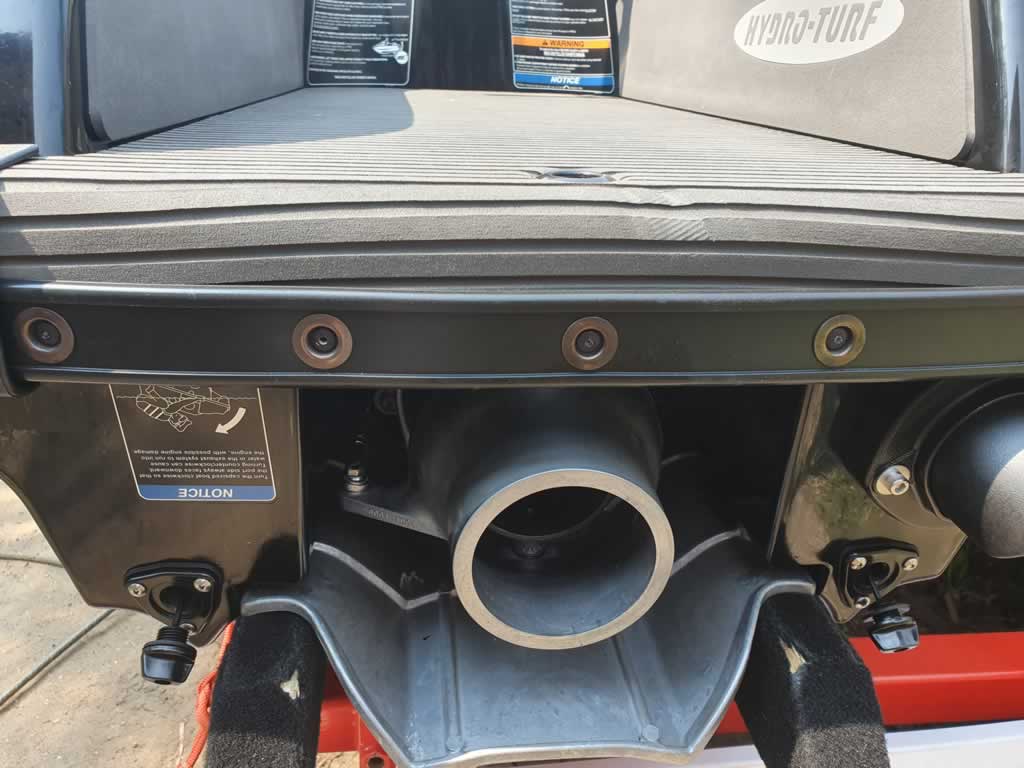
First job is drill out the back-mat strap and remove the tow gromet. I chose to go with the Jettrim tow loop – its a great idea.
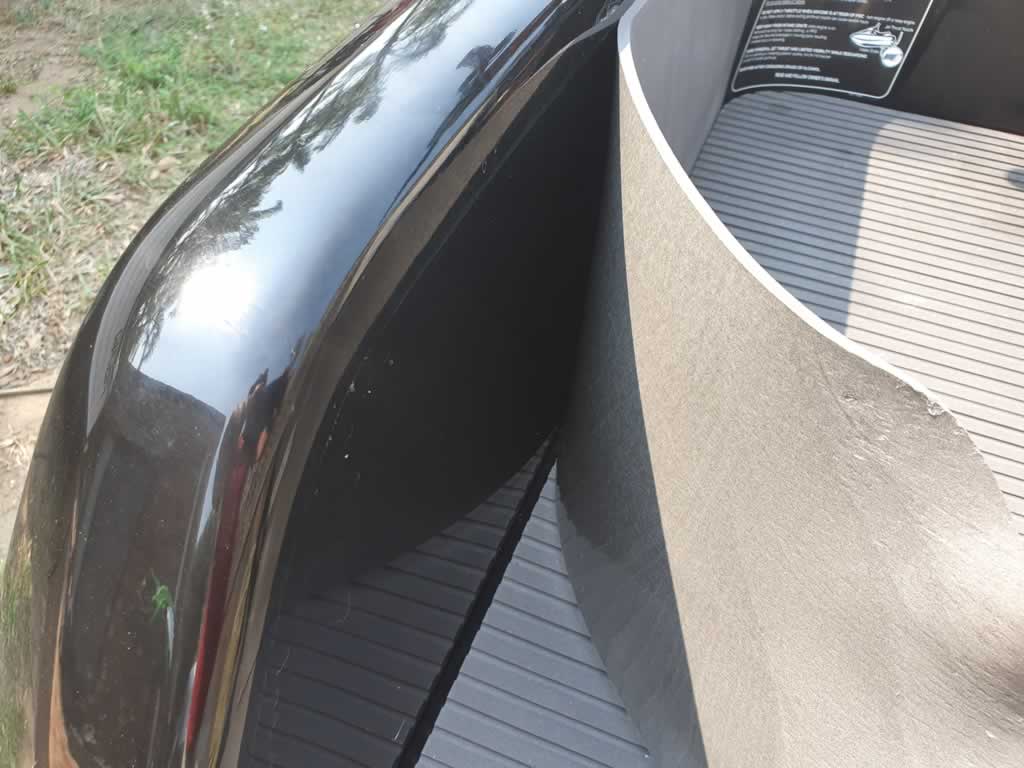
I was able to get my fingernail under the side mats first then by giving them a hard, fast tug (bit like waxing I guess) it comes off in one sheet. I wouldn’t recommend using a tool any sharper than your finger as your primary goal is not to scratch that gel coat on the hull. That would suck.
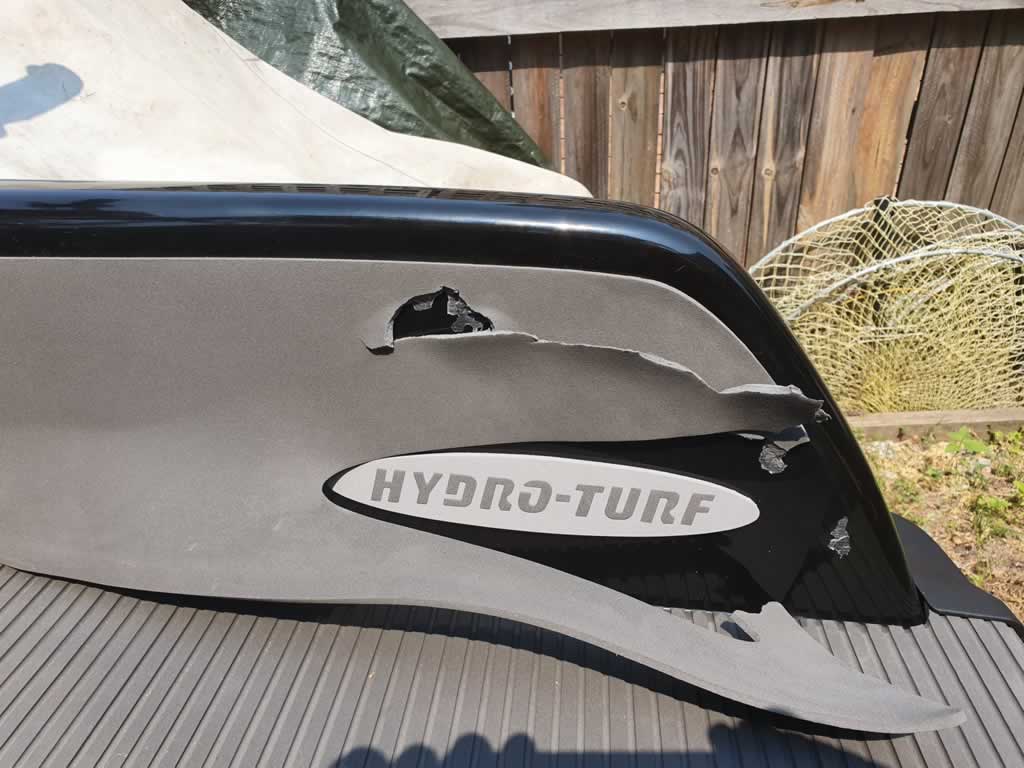
Pull off both sides and then work on the floor mat. Unfortunately, the right side wasn’t as nice as the left. The embedded Hydro-Turf logo stuffed that up. Anyway, persevere and keep picking it off using something blunt.
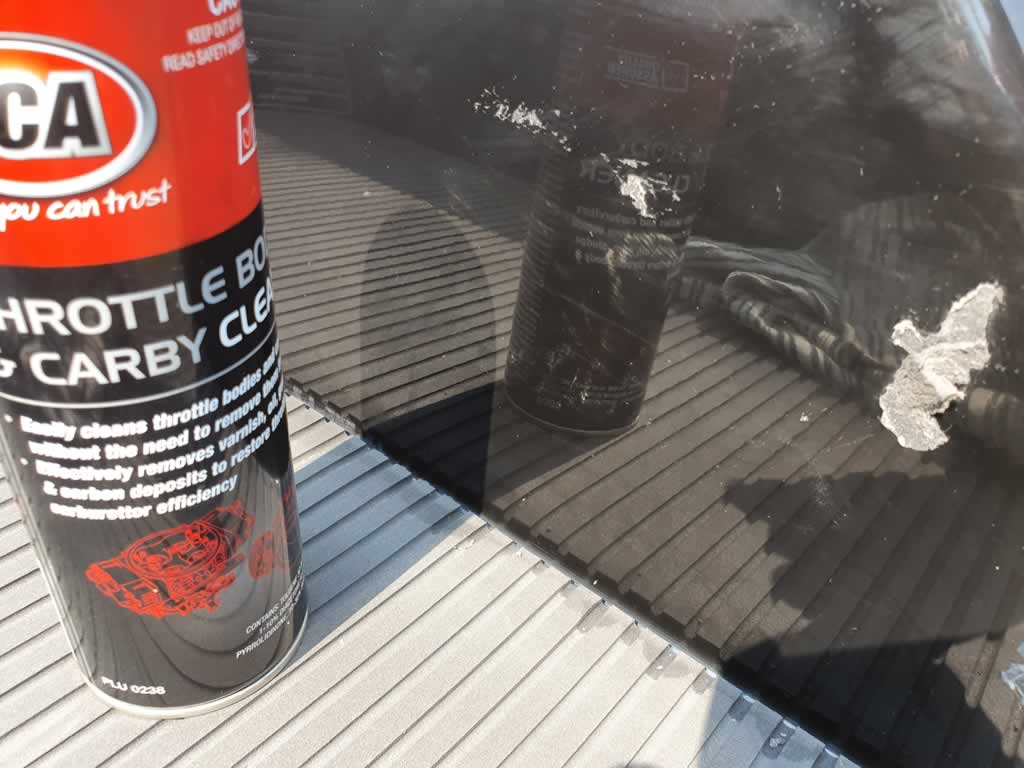
Just like you, I have read everything about removing mats and glue from heat, sanding discs, you name it I have read it and tried (on my older 550). The best trick was carby cleaner. Turns the glue to mush fast then scrape it off. Just watch where you spray this stuff as it is a little volatile on some things like decals (maybe).
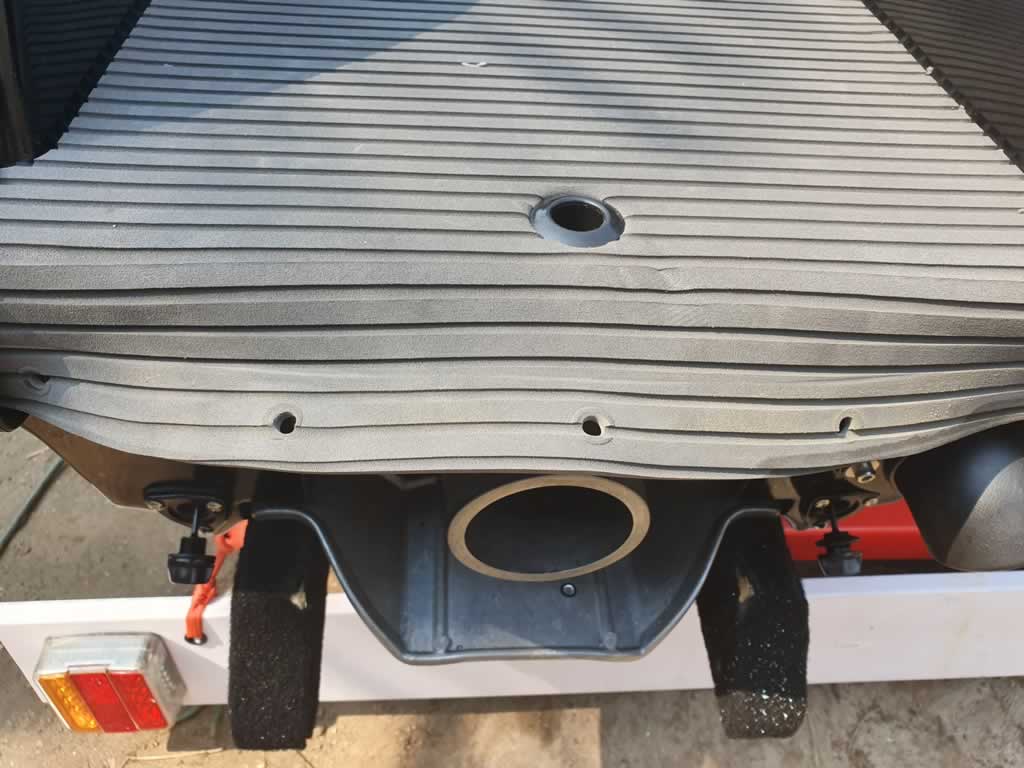
Then pull up the floor mat in one hard pull. It should come off really easy – well I hope for your sake.
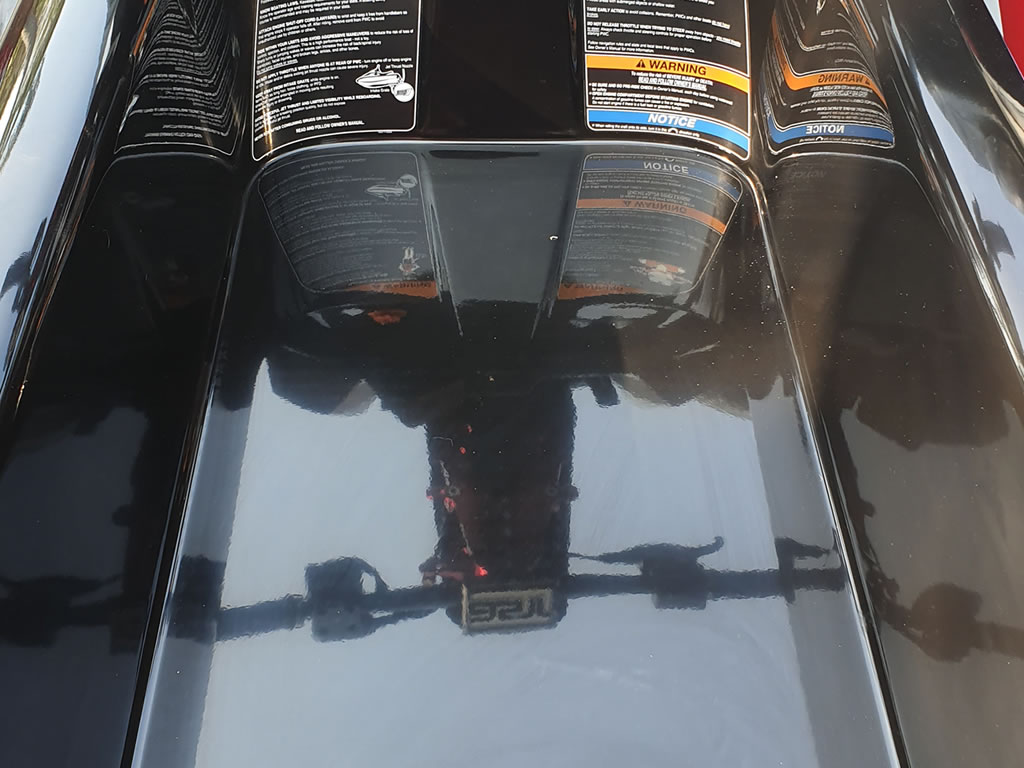
I then cleaned it up with white fuel or I call it Shellite. You know the stuff. Cleans and evaporates fast.
Now chill. Have a beer or whatever you need. Now is the important time to relax and take this bit slow.
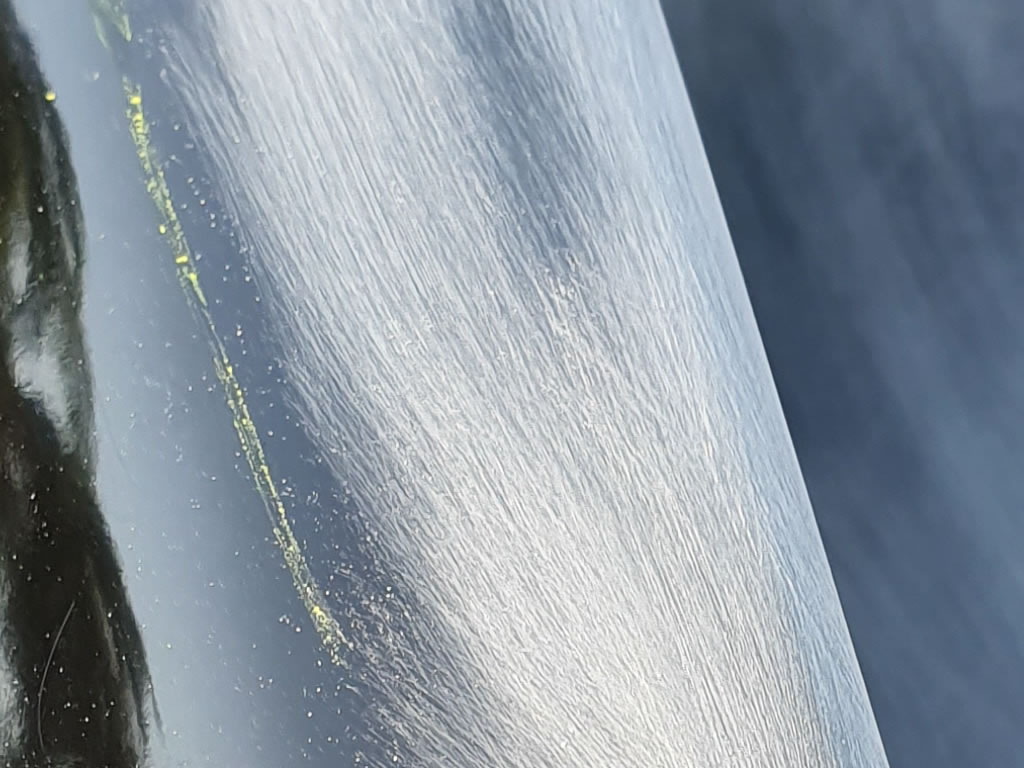
You need to lay the mats out and trace around the edge with your crayon. This will ensure you don’t buff up something we will see. Imagine if the mats were installed and the scratches seeped out the side of the mat – shitshow right there.
So, I traced around mine twice. I took it slow and even used some tape to hold them in place. This was something I did not want to fuck up.
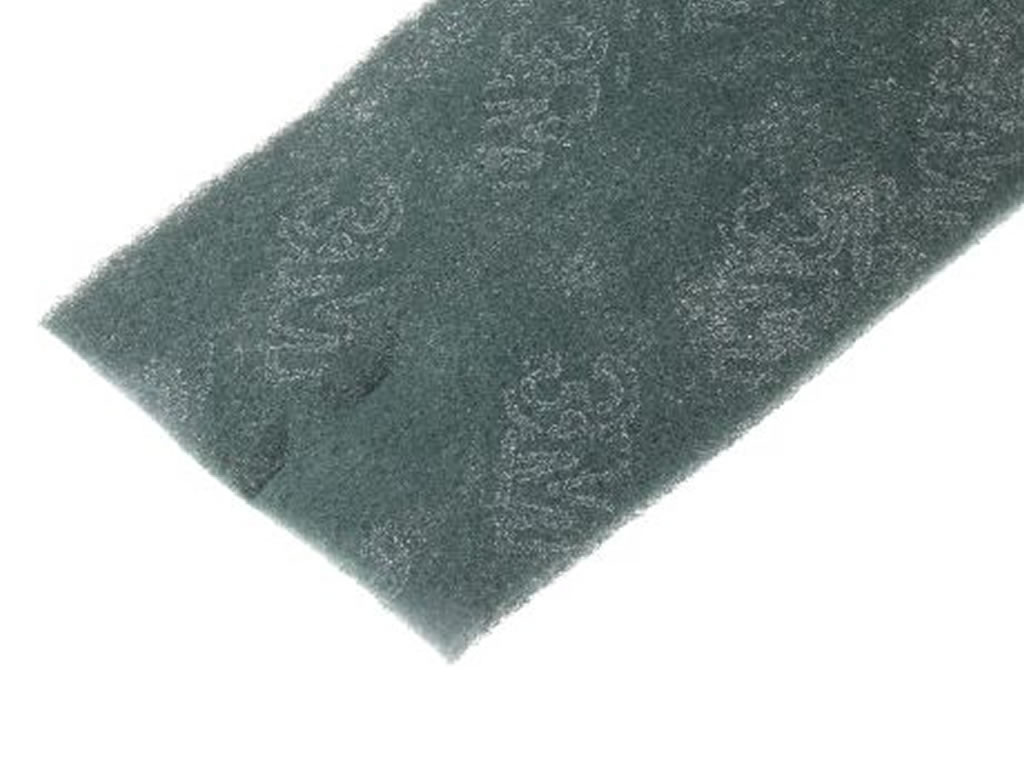
I then used one of those green sanding pads and gave the deck a good scuffing. I really spent time here as I would hate the glue to come unstuck in a season or two time. I just rubbed over the warning stickers.
Now it came the time to glue. If you have never used contact adhesive here is a tip: once two glued surface of this shit touches that’s it. No second chance. This is where the sober head helps.
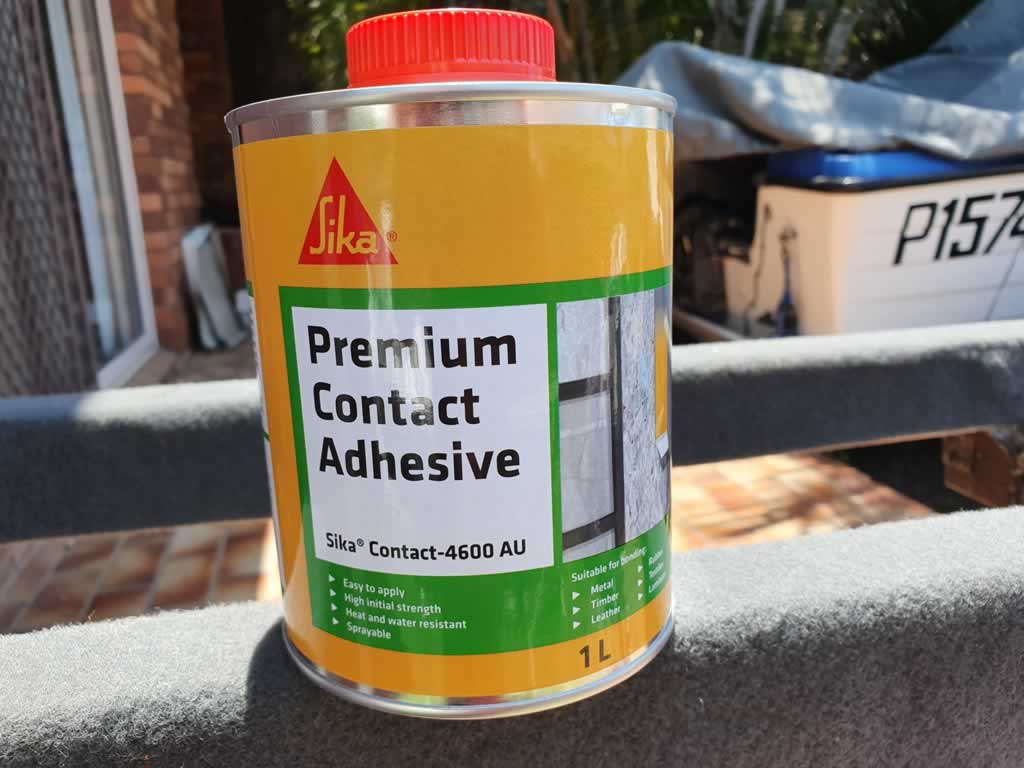
I have a spray gun so if you do not have one, can’t borrow one then use a sponge brush. Personally, I would hate to use a sponge brush, but I am sure it works.
I did it in sections. I sprayed the front part first, giving the two coats time to tack and then stuck it. Finishing it off with a white rubber mallet. Tapping the mat all over the mat to make sure it never comes off.
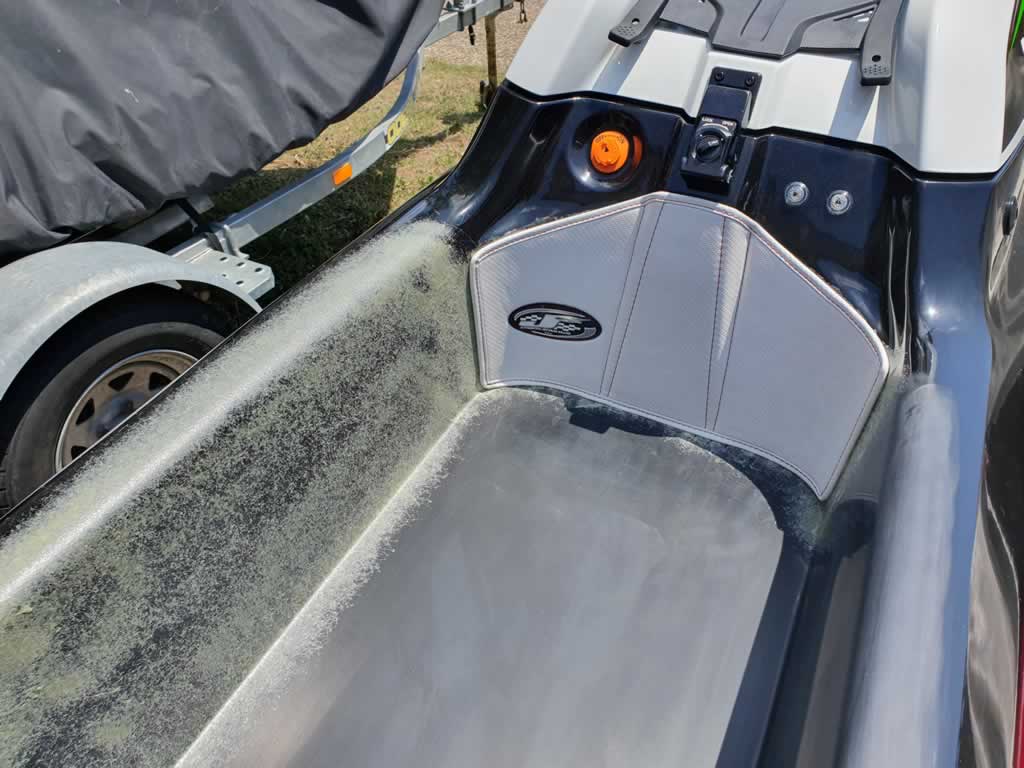
I then started work on the side mats one at a time. Making sure I do not overspray past my crayon mark as that just means more work removing it with a rag and Shellite later.
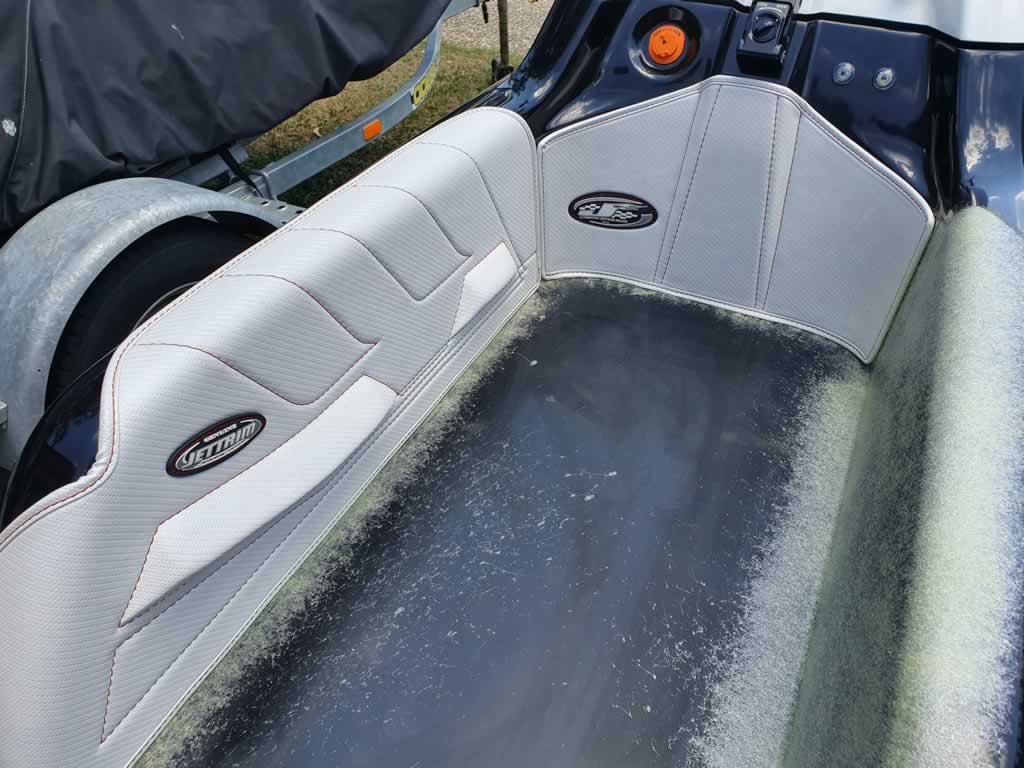
Tap, tap, tap – stick, stick, stick. Do the other side.
Now lay the bottom mat down, install the hump (one pictured below is the little one) by tracing it and cutting away the foam. Glue and insert.
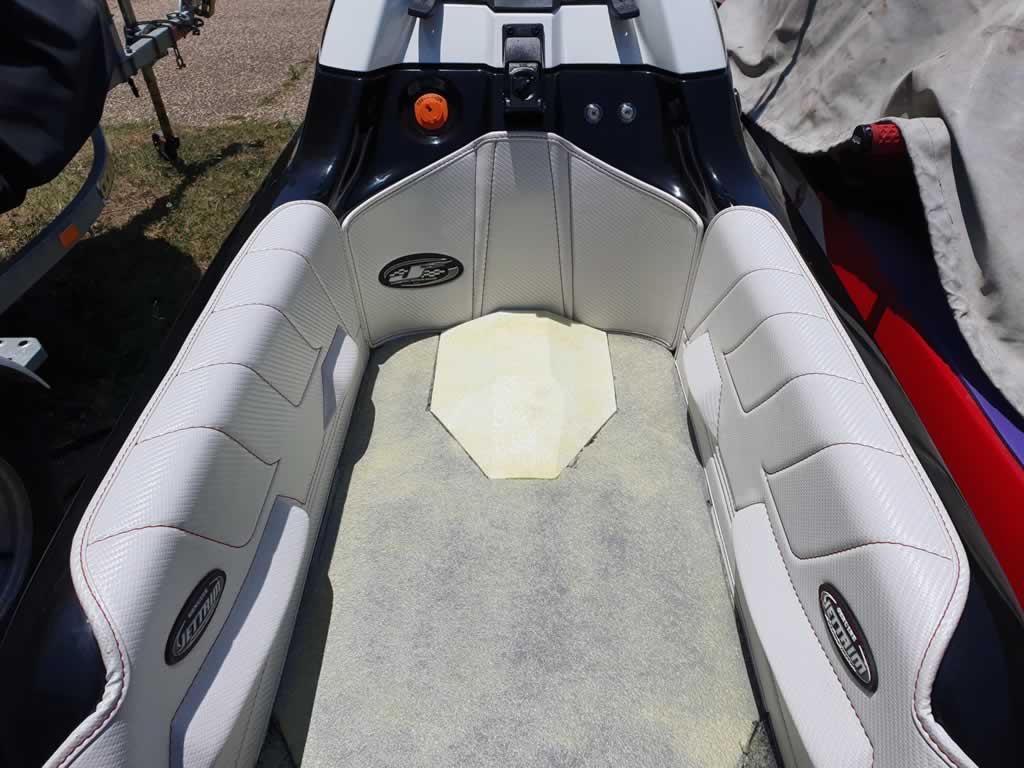
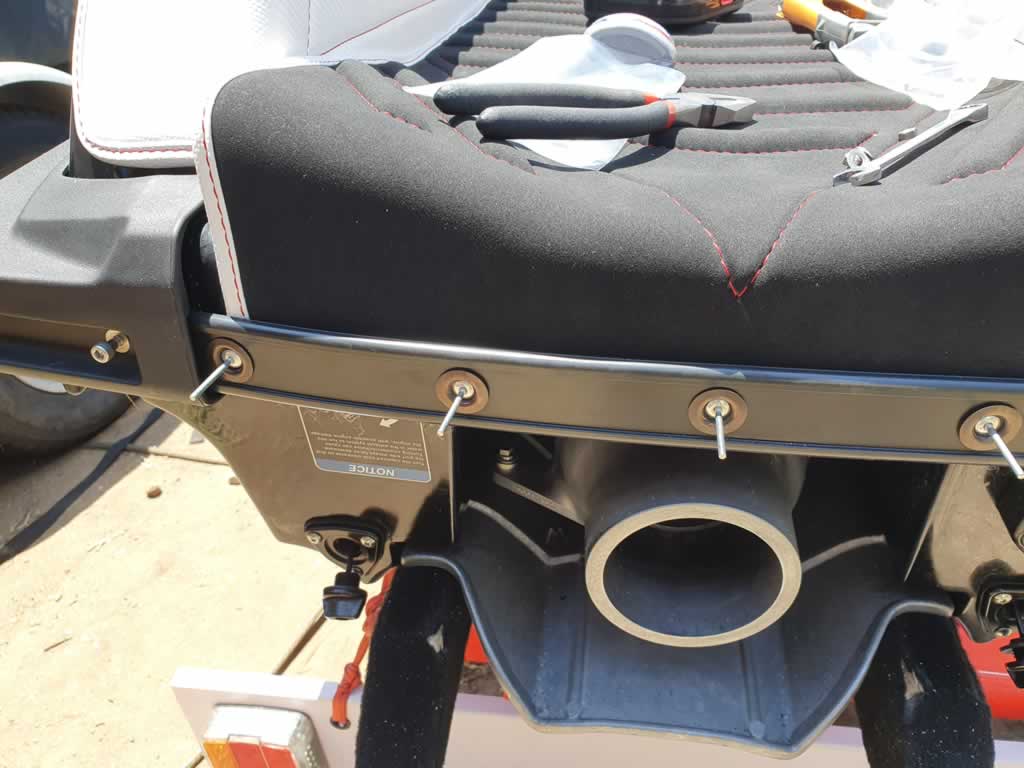
Cut out the back kickers and install the tow loop by drilling two bolt holes (see video below) and install. I found the bolts to protrude a little and was worried it would damage the mat, so I reinforced.
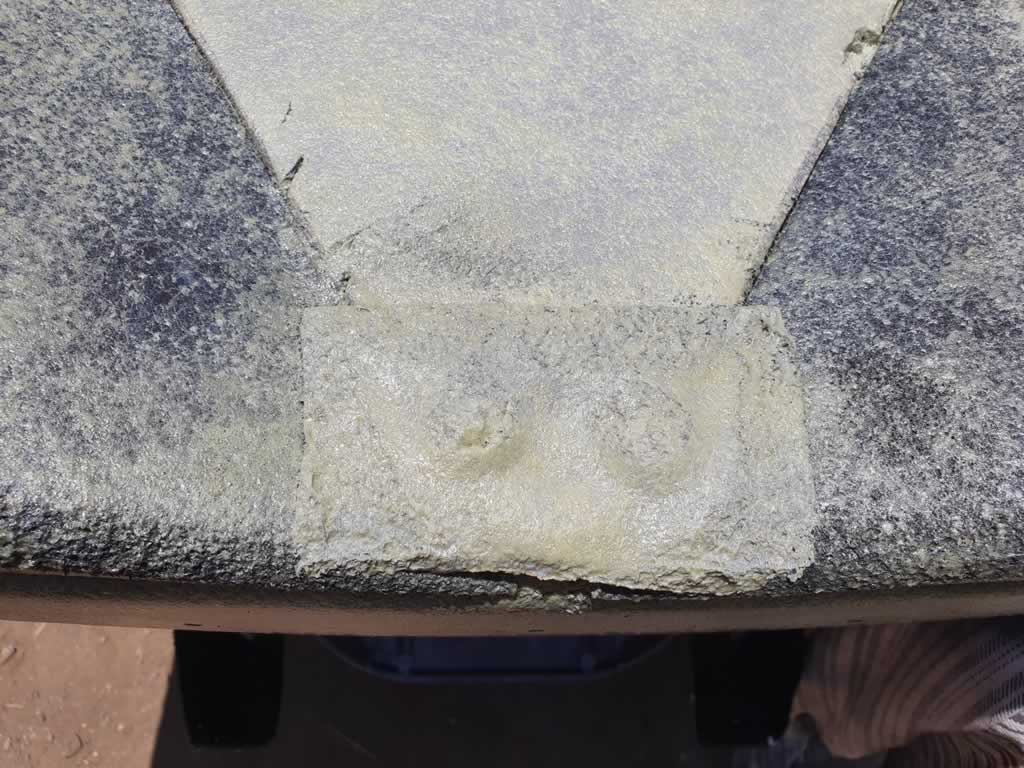
Then you need to spray the bottom mat and install. Stick down the top of the mat and then apply a little pulling (towards the back of the ski) pressure and stick down. The kickers do a good job of stopping the two glued surfaces prematurely touching.
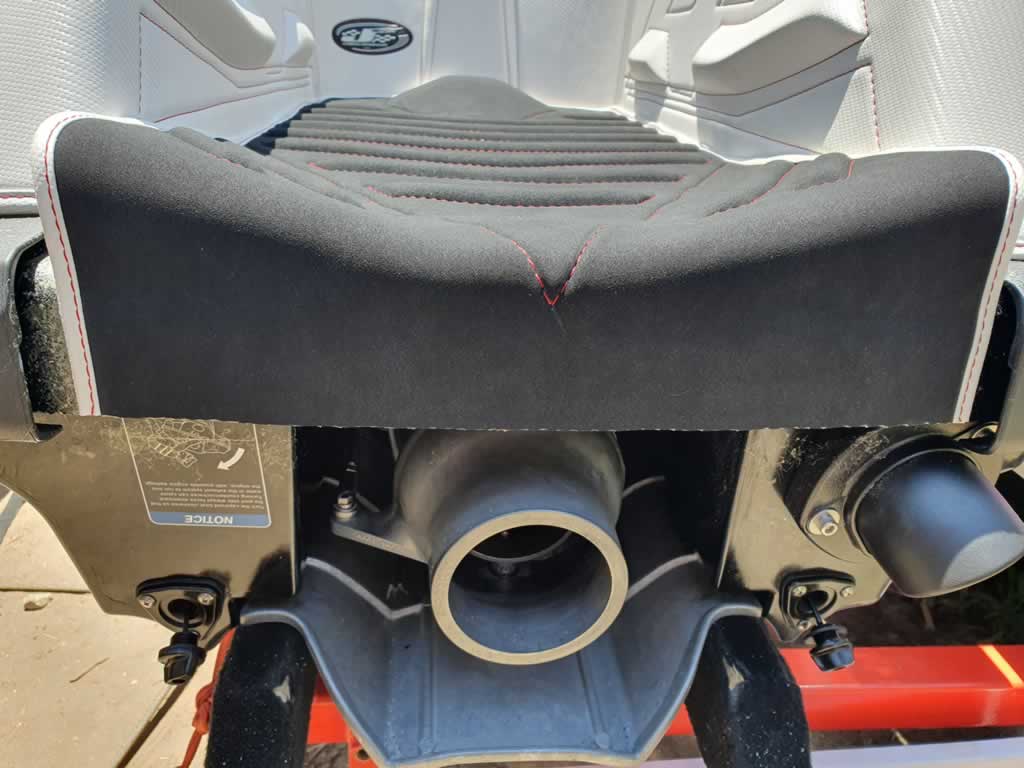
Cut the bottom of the mat off with a blade and install the back plate with some stainless rivets. You then need to run a bead of superglue around the complete edge. Dont use to much as that stuff sticks like shit to a blanket and man hard to get off even with cleaner!
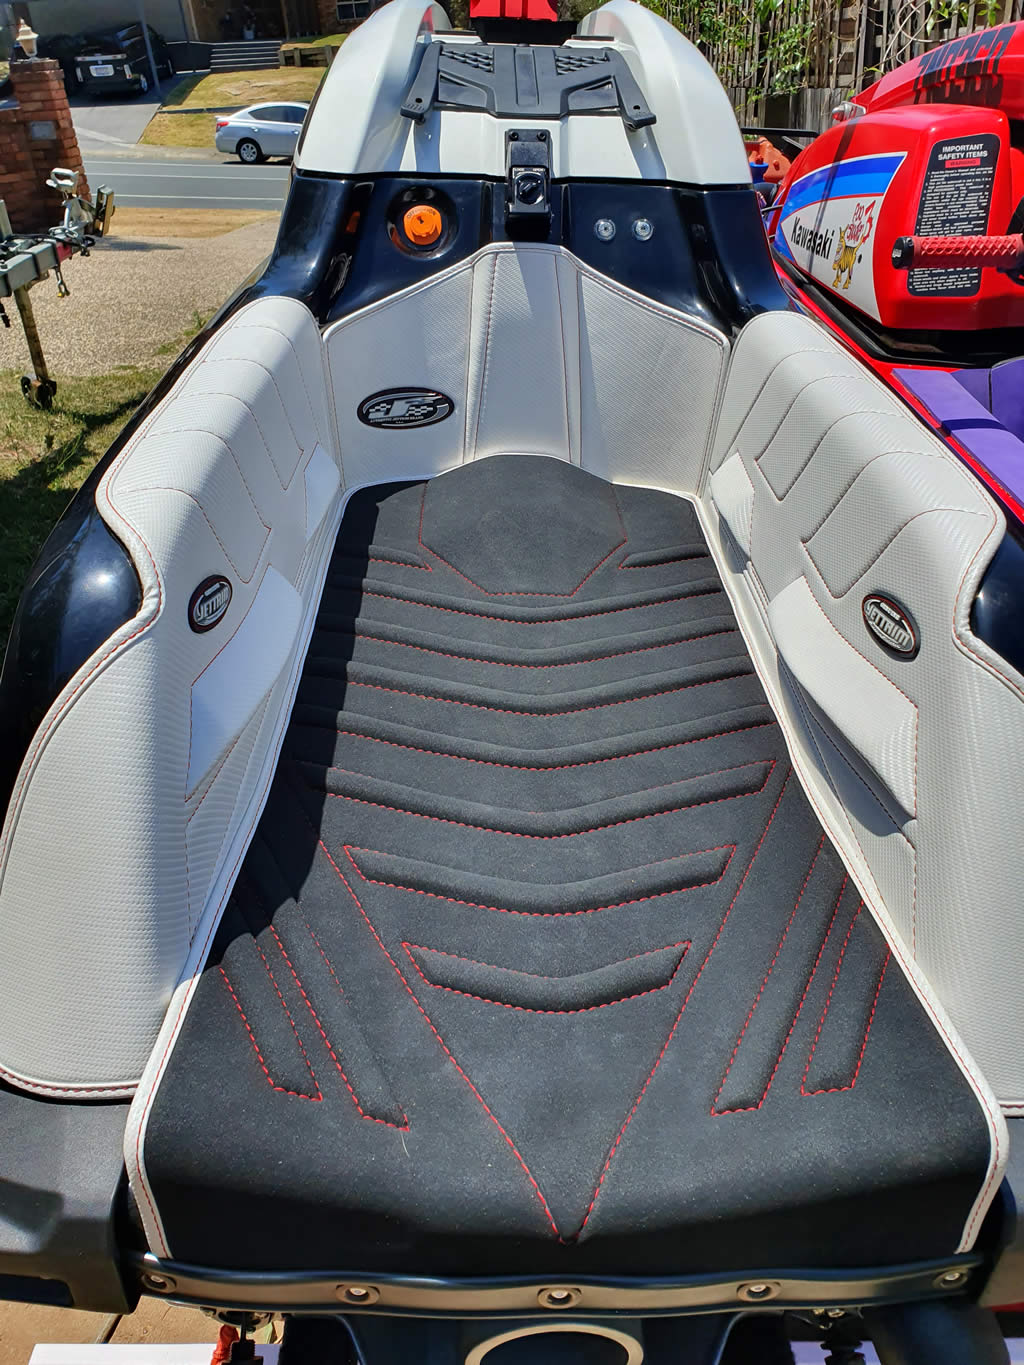
Overall, the process took around 1-2 hours. It looks great and is a treat to ride.
Spend the time and watch the video. It explains and demonstrates things in a lot more detail.
Share your photos of your Jettrim mat installation on the Jetski.Army Facebook page.